Slits are holes which appear in tapestries as a result of building shapes, and can either be sewn up, or left as a design feature. If you like the way the slit creates texture, dimension and shadow, feel free to leave them as they are. If you'd like to close them, I recommend sewing your slits up using my illustrated tutorial below. It's actually amazing how much more finished and complete a tapestry looks once you have sewn up all your slits!
The tutorial below illustrates an invisible technique. Meaning, once it is done you can not see the sewing thread that sewed the slit; it is hidden inside the tapestry.
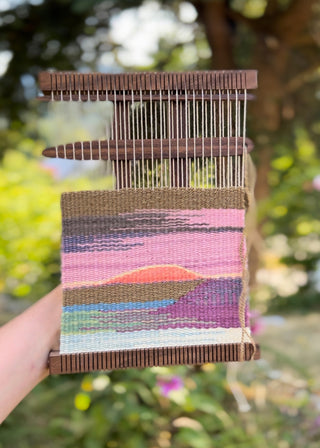
What is a slit? A slit is the hole that is left between two woven shapes in your tapestry. In the image above, I have illustrated two rectangular shapes beside each other, one light blue and one purple, which have a large space between them where there is nothing is interlocking those shapes together. That is technically a hole, called a slit, in your weaving which you may want to sew up.
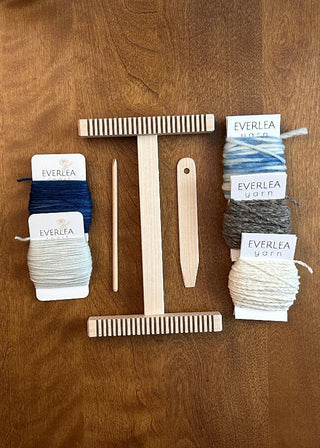
What do you need? For this task you will need:
1) Sewing thread (I usually use white, but any colour will do since it will not be visible). If you are sewing large slits in a large tapestry which will be bearing weight I recommend using upholstery thread.
2) A blunt sewing needle. Size no.14 is what I prefer.
Cut a length of thread no longer than the length of your forearm.
Step 1: With the back of your weaving facing you, tie a knot around the warp which is the bottom right side of the slit.

Step 2: Sew the thread through the turnaround point in the first sequence of weaving which is wrapped around the warp you just tied your knot onto, and then behind that warp.

Step 3: Bring your thread across to the warp on the other side of the slit and sew your thread over and around that warp, between two sequences of weft. Put simply, you are only wrapping around the warp on this side (ie. not sewing your thread through the turnaround point of the weft as with the other side)
For the most invisible outcome, try to only create a horizontal line with your thread, when it comes to the part of the thread which joins the two warps

Repeat steps 2+3 pulling your thread taut as you go. Finish by tying a knot on either warp.