Les fentes sont des trous qui apparaissent dans les tapisseries en raison de la construction de formes et peuvent être cousues ou laissées comme élément de design. Si vous aimez la façon dont la fente crée la texture, la dimension et l'ombre, n'hésitez pas à les laisser telles quelles. Si vous souhaitez les fermer, je vous recommande de coudre vos fentes en utilisant mon tutoriel illustré ci-dessous. C'est vraiment étonnant à quel point une tapisserie semble plus finie et complète une fois que vous avez cousu toutes vos fentes !
Le tutoriel ci-dessous illustre une technique invisible. C'est à dire qu'une fois réalisée, on ne voit plus le fil qui a cousu la fente ; il est caché à l'intérieur de la tapisserie.
Qu'est-ce qu'une fente ? Une fente est le trou qui reste entre deux formes tissées dans votre tapisserie. Dans l'image ci-dessus, j'ai illustré deux formes rectangulaires côte à côte, l'une bleu clair et l'autre violette, qui ont un grand espace entre elles où rien ne relie ces formes entre elles. Il s'agit techniquement d'un trou, appelé fente, dans votre tissage que vous voudrez peut-être coudre.
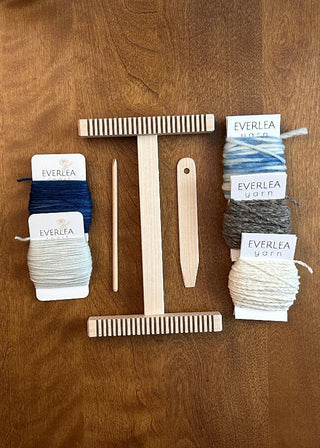
De quoi avez-vous besoin ? Pour cette tâche, vous aurez besoin de :
1) Du fil à coudre (j'utilise généralement du fil blanc, mais n'importe quelle couleur fera l'affaire car il ne sera pas visible). Si vous cousez de grandes fentes dans une grande tapisserie qui supportera du poids, je vous recommande d'utiliser du fil d'ameublement.
2) Une aiguille à coudre émoussée. La taille n°14 est celle que je préfère.
Coupez un morceau de fil ne dépassant pas la longueur de votre avant-bras.
Étape 1 : Avec l'arrière de votre tissage face à vous, faites un nœud autour de la chaîne qui est le côté inférieur droit de la fente.

Étape 2 : Cousez le fil à travers le point de retournement de la première séquence de tissage qui est enroulé autour de la chaîne sur laquelle vous venez de faire votre nœud, puis derrière cette chaîne .

Étape 3 : Amenez votre fil sur la chaîne de l'autre côté de la fente et cousez votre fil par-dessus et autour de cette chaîne, entre deux séquences de trame. En termes simples, vous n'enroulez que la chaîne de ce côté (c'est-à-dire que vous ne cousez pas votre fil à travers le point de retournement de la trame comme avec l'autre côté)
Pour un résultat le plus invisible possible, essayez de créer uniquement une ligne horizontale avec votre fil, lorsqu'il s'agit de la partie du fil qui joint les deux chaînes

Répétez les étapes 2 et 3 en tendant votre fil au fur et à mesure. Terminez en faisant un nœud sur l'une des deux chaînes.